
Creating content is a pretty time‑consuming game.
Think of all those hours you spend developing an idea, crafting your words, doing research, sourcing images, finding sources to cite, optimising for the search engine, and making sure the piece is clear and direct.
Only for the process to start all over again the moment you hit publish and let your hard work go live.
Now you have to come up with another idea and sink all the same hours into coming up with some more good quality content for your audience.
It’s the number one reason the content cycle is so frustrating. You can run a content calendar and use AI tools as much as you like, but they’re never going to stop the need for fresh content.
But you can keep up with this simply by working smarter, not harder, with your content. That’s where content repurposing comes in.
What is content repurposing?

Imagine there’s a really comfy armchair in your living room. It’s the perfect armchair for the space, it lets you recline and stretch out, and there are even fights over who gets to sit in it.
Over the years, the armchair gets worn down and the colour fades and it looks like you’re going to have to replace it.
So now you’re going to have to spend hours looking for a new armchair worthy of taking its place. Scroll through product catalogues, read through a thousand different reviews, and try to stay on budget at the same time.
And the new armchair you put all of this investment into might not even be a patch on the old one!
But what if you didn’t have to get rid of your beloved armchair? What if you just patched it over with some new material, bought a new cushion to go on top, and kept on using it?
You’d give that same old armchair a new lease on life and save a lot of time and money in the process.
That’s what content repurposing is. You take a piece of well‑performing content that your audience loves and use it again and again.
One piece of content that you’ve put so much time and effort into has so many other opportunities.
With content repurposing, you can work hard just the once to create some quality content. You can then use that content multiple times—in different formats—and squeeze more value out of it.
Why should you repurpose your content?
Because publishing content is just the beginning, not the end.
When you see your content with this point of view, you can unlock a lot of new benefits for your business through it.
To us, these three are the most compelling:
You can reach a new audience
Repurposing content for other platforms means you can reach a wider audience that hasn’t yet found you via the search engine.
For example, turning a blog post into a video script to record and edit means sites like YouTube can actually recommend your content to people interested in similar products or services.
Similarly, sites like Facebook and Instagram make it very easy to personally share content you enjoy. People just have to tap a button and it’s sent.
Content repurposing saves a lot of time
According to a study done by Orbit Media, the average time required to write a blog post is 3 hours and 48 minutes.
If you work a 40‑hour week in your business, that’s nearly 10% of your entire working schedule spent on creating just the one piece of content. It’s nearly a quarter of the entire week if you want to publish two posts.
The average time doesn’t take into account factors like the length of the post or the research needs either. You could very well spend more than 4 hours on your content creation.
But if you start repurposing your content, you don’t have to find a spare 4+ hours in your schedule every single time you want to create a new piece of content.
You’re less likely to put out low quality, rushed content
If you don’t have the time required to create high quality, well‑made content, you’re more likely to create the opposite: low quality content with no care to it.
Putting out something low quality—that’s unoriginal, stale, and unhelpful—can be very bad for business.
This kind of content can affect your online visibility. It’s also less likely to convert your audience into paying customers.
Content repurposing means you take the high quality content you’ve already made and share it again, albeit with a few tweaks and changes.
Is it difficult to repurpose content?
Taking one piece of content and turning it into another piece of content—that sounds a bit fiddly, doesn’t it?
Where do you even start when trying to repurpose your content?
It’s best if we just show you!
Let’s go through 3 different ways of repurposing content using a post we’ve published on the TJ Creative blog.
The post we’ll be using is Search Marketing: Everything you need to know
You can then use these methods yourself to create entirely new and effective content out of anything you’ve already published.
Turn a blog post into a YouTube video

YouTube is a great place for creating content as a business. Firstly, YouTube videos rank on YouTube search results AND Google search results. Repurposing a blog post into an audio‑visual format can get you ranking in both places.
But if you’re worried about that shift, let us tell you now that turning a blog post into a video script is much easier to do than it probably first seems.
After all, both blog posts and YouTube videos follow a traditional beginning, middle, and end structure. Your blog’s intro, content body, and conclusion can remain the same when converting it into a video.
You don’t even need to appear on video either; you can simply animate your text and voiceover it. You can even just create a traditional presentation using your text, static images or stock video, sound effects, and music.
But no matter your chosen video style, there are two things you need to be sure you get right: video quality and script pacing.
Video quality is decided by the clarity and definition, as well as ensuring any audio is clear. If you’re going to appear in person, your recording area needs to be well lit.
Script pacing ensures your video is not too long or too slow.
If we were turning a TJ Creative blog post into a script, we’d need to ensure we provided the right detail without wasting the viewer’s time.
We could do this by having the most important, memorable details pop up on a presentation whilst we voice over the top to explain them.
Let’s take the key question from the article we linked above to give you a small example here:
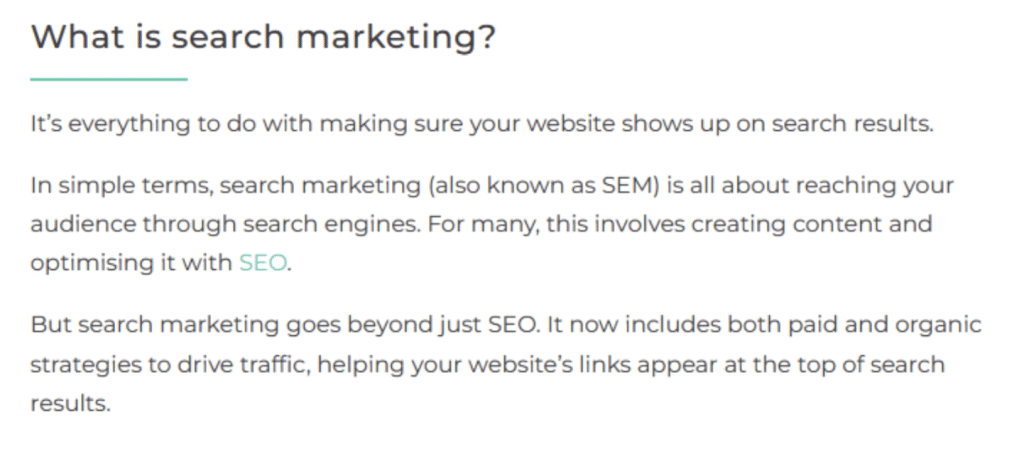
Within our script, we could combine the first line with the last line of the second paragraph:
‘It’s everything to do with making sure your website shows up on search results. For many, this involves creating content and optimising it with SEO.’
Then we’d just shorten the last paragraph a little:
‘But search marketing goes beyond SEO – it includes both paid and organic strategies to get your website’s link to the top.’
This will create a script that sounds appropriately conversational to be on video.
As we read it out, we could use bullet points to highlight the advice we don’t want the viewer to miss. It’s best to do this using short, punchy phrases.
Create an Instagram carousel using your blog post

Instagram allows up to 20 slides to be shared in one post, making this option great for in‑depth content.
It also means viewers are more likely to spend time with your content and properly digest it, which is great for fostering engagement.
To create an Instagram Carousel:
Isolate the part of your content you want to focus on
For our example, we’re going to focus on the subheading: ‘How to get started with search marketing and make it successful for your business’.
This is already a list of tips, so it’s broken into bite size pieces for us. If you’re using content that isn’t already broken down like this, copy the content into a Google Doc. Then, go through and separate it out into equal sized pieces.
Decide how many pieces you have
This will determine how many slides are in your carousel. Don’t forget that you’ll need a slide for your post’s title too!
There are 6 tips in the list we’re using, plus we’ll need a slide for our header, meaning we’ll need 7 slides altogether.
Pick out the important details
Slides in Instagram carousels shouldn’t be too word heavy. Present your information in small, snappy chunks and avoid walls of text.
The first tip in the article we’re repurposing is about understanding customer search intent:

The subheading is short and sweet already, so we’re definitely going to include that.
However, the text body is a little bit too wordy for an Instagram post. It’s great content, but we need to make it more concise to fit the format.
Looking at the details here, the thing that jumps out is how understanding your customers’ use of keywords enables you to choose the right search marketing method.
So let’s turn that into a snippet that looks good on Instagram:
Understanding customer search terms = investing in the right search marketing method
Put this together with the subheading to introduce the slide and you’re good to move on!
Create your slides
Now it’s time to put it all together! We recommend using Canva, as it’s a very powerful yet easy to use editing suite for social media posts.
Go with the brand palette you already use for your background and text colours. Copy in your text chunks on top and size them appropriately.
Make sure the text contrasts well against the background. You don’t want your slides to be difficult to read.
You should also source some royalty-free images, graphics, or vectors to use within the design. Make them a complementary part of the layout that adds something visually interesting.
And then you’re done! You can now post your Instagram carousel to your brand’s account. Be sure to accompany it with a caption and a call to action about where your audience can find out more.
For our example, we’re focusing on: ‘How to get started with search marketing and make it successful for your business’.
This is already a list of tips, so it’s broken into bite‑size pieces. If you’re using content that isn’t already broken down, copy it into a Google Doc. Then separate it into equal‑sized pieces.
Decide how many pieces you have. This determines how many slides you need. We have 6 tips plus one header slide, so 7 slides altogether.
Slides shouldn’t be too wordy. Present your info in small, snappy chunks and avoid walls of text.
The first tip is about understanding customer search intent. The subheading is short and sweet already, so we’ll include that.
The body text needs tweaking. We’ll turn the key idea into this snippet:
Understanding customer search terms = investing in the right search marketing method
Combine it with the subheading to introduce the slide and you’re ready to move on.
To create slides, we recommend using Canva if you’re creating it yourself. (If you have a designer then, first of all, lucky you! Secondly, sounds like you have budget to work with us – so get in touch).
Use your brand palette and paste in your text chunks. Make sure good contrast so the text is easy to read. Add royalty‑free images or graphics to add visual appeal.
Then you’re done! Post your Instagram carousel with a caption and call to action directing your audience where to find more.
Create multiple Instagram posts from one blog
One blog post can also be turned into multiple Instagram posts, which you can post bi‑weekly or daily.
It’s easy—you can even use the same list of search marketing tips for a carousel!
Since these are static posts, you’ll need to introduce the content differently. For example, post them as a weekly series with an actionable tip each time.
When repurposing into static posts, include more context. Add a heading like ‘Search Marketing 101’ so each post makes sense individually and connects to the series.
Here’s our snippet with extra detail:
Search Marketing 101
Understanding customer search terms = investing in the right search marketing method.
You can expand on this in the caption to add more context and include keywords.
Expert tip: On Canva, upload your brand colours, fonts, and logo into a ‘brand kit’ to create templates. That makes future repurposing even easier.
From this one post, we’ve created six Instagram posts you can share over time.
Now imagine doing that for every piece of content you publish. Your content calendar just got a lot easier to fill.
Final rules for content repurposing
Firstly, never just repost something.
If you want to share a successful blog post elsewhere, you can’t just upload it as‑is. Content quality issues aside, you might face technical hiccups.
You’ll need to change the content to suit its new home. The crucial part is:
Present information in a way that works best for your chosen platform.
Want to post on Instagram? Remember it’s designed for photos. Turn your words into visuals.
Or maybe a podcast? Don’t just read your content. Use it to tell a story—it’s more engaging.
These changes take time and effort—but nowhere near the 4+ hours needed for a brand‑new blog.